Hello, I’m Fabrizio, I’m the proud owner of
Fabulous Finishing.
I take enormous pride in refinishing tubs and tiles for my valued customers, breathing new life and rejuvenation into bathrooms throughout Hamilton, Halton, Niagara, Waterloo and Guelph Regions. I bring my passion and over 10 years of experience to every job. It’s such a privilege to be trusted in the homes and bathrooms of my customers. I truly do care about every job and take great pride in a job well done.

Why Choose Fabulous Finishing?

Integrity
I’m a family man and I know how much of a privilege it is to be invited into your home. I respect every customer and strive to treat their home as though it were my own. I run a very tidy job site, properly exhaust the fumes out of your house, and don’t prolong down time for your home. I can usually be in and out in a few hours with virtually no interruption to your daily routine

Premium Materials
We don’t compromise on our materials. While the other guys may say they use good quality products, we will not compromise and only use the absolute best products to refinish your tub or tile. This makes a huge difference in the initial result but also in the long-term performance and durability of the finish. We use LOW VOC acrylic coatings, UV resistance (not turn yellow), to provide extended color retention and brightness for years.

Craftsmanship
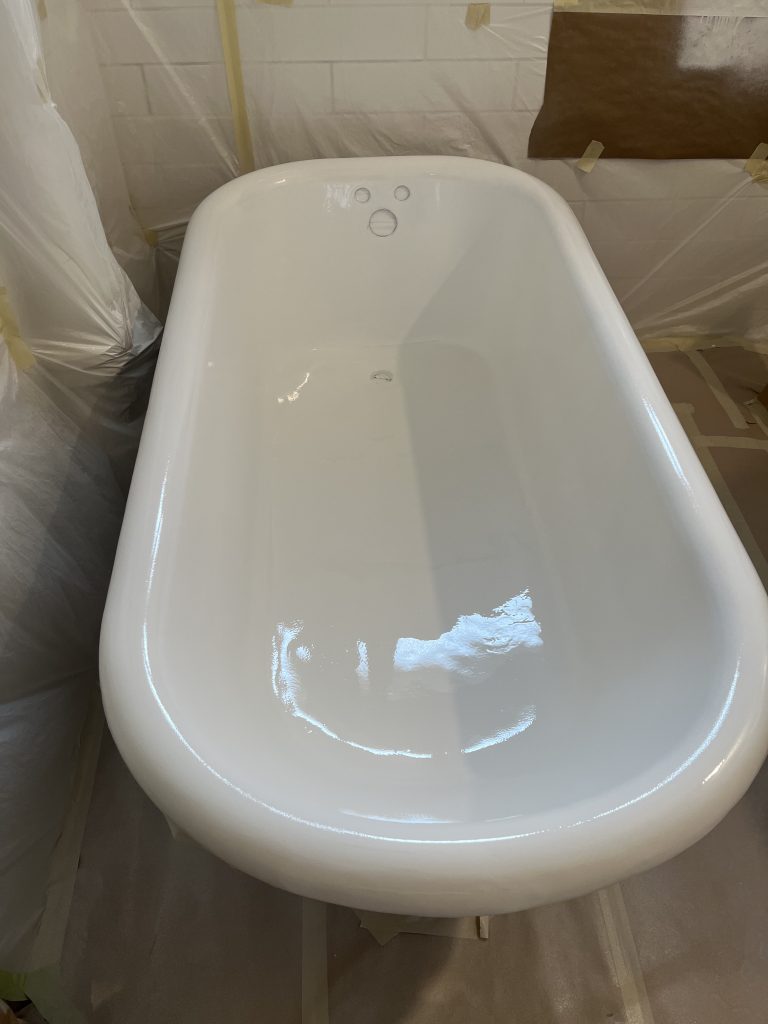
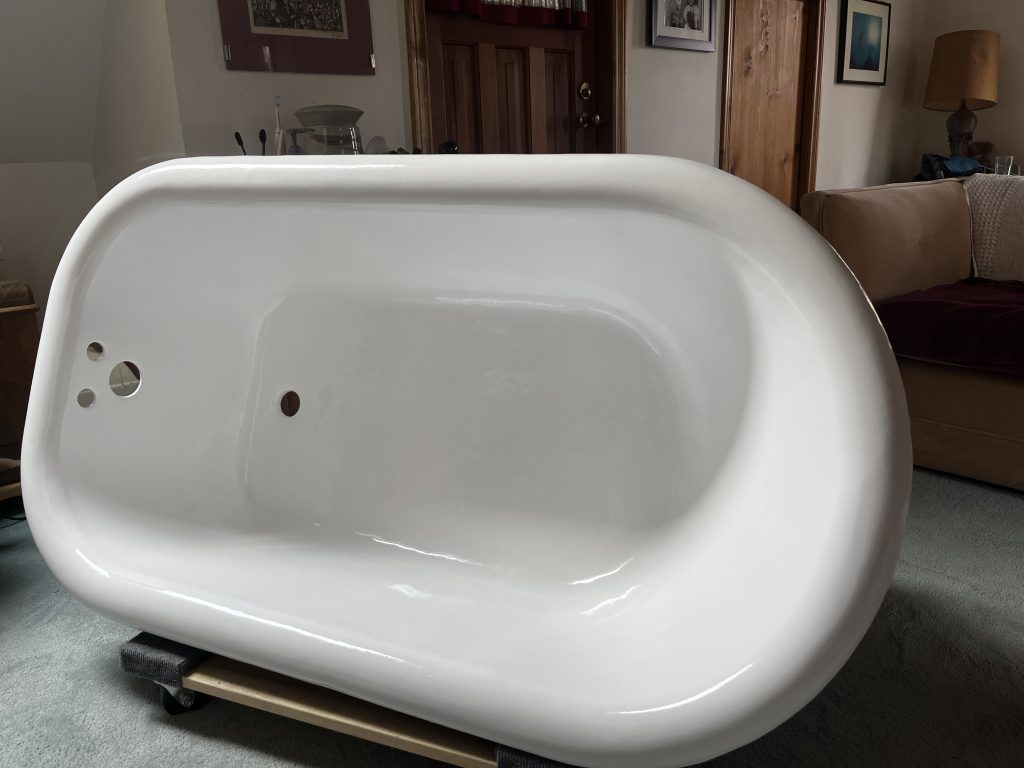
As the business owner I take pride in each and every job. This is what I do and I don’t leave the job until it’s right! Other companies sub out the work, but I take my 10 plus years of experience and passion and transform your tub or tile. All of our premium coatings are sprayed on (not rolled) with a finish only achievable through years of experience. We install an efficient portable exhaust system to reduce the odour and fumes inside the job site.
Tile Reglazing And Refinishing Rockwood
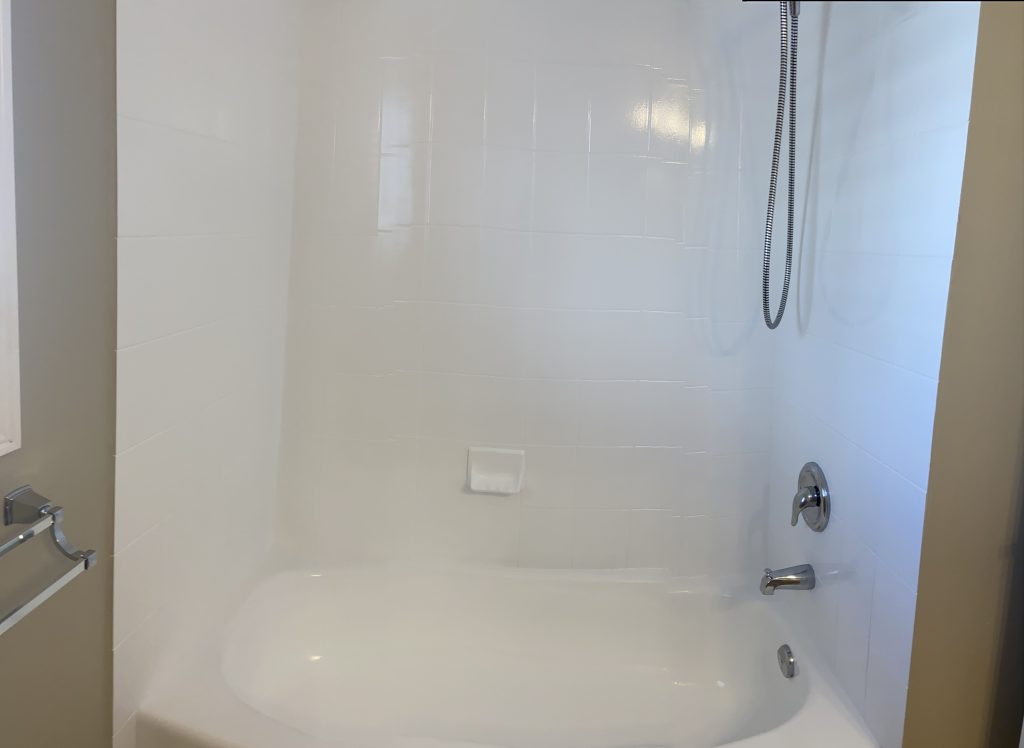
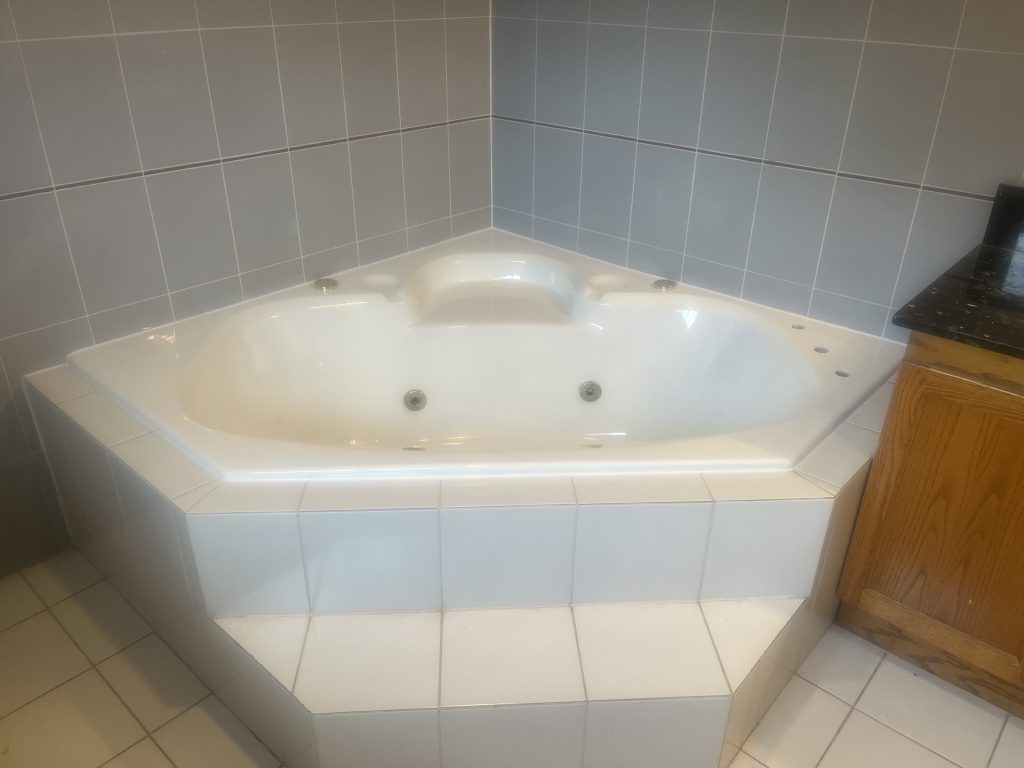
With years of experience in the bathroom refinishing industry, the team at fabulousfinishing.ca understands that tired, discolored bathroom tiles can make an entire space feel dated and worn. Tile reglazing and refinishing Rockwood homeowners trust is an effective alternative to costly tile replacement, allowing you to restore the beauty of your bathroom fixtures without the expense and disruption of a full renovation. This guide walks you through the professional process of tile reglazing and refinishing, so you understand what's involved when you partner with experienced refinishers serving Hamilton, Halton Region, Niagara, Waterloo, and Guelph.
By following these steps, you'll achieve a bathroom that looks refreshed, feels cleaner, and maintains its restored beauty for years to come. Whether you're in Rockwood, Cambridge, Kitchener, or any of our service areas in Ontario, understanding the tile refinishing process helps you make informed decisions about your home's restoration.
Step 1: Assess Your Tile Condition and Gather Materials
Before beginning any tile reglazing project, carefully inspect your bathroom tiles for cracks, chips, or structural damage. Run your hands across the surface and look for areas where the glaze has worn thin or where moisture damage is visible. Take photographs of problem areas to document the current state. This assessment determines whether refinishing is the right choice or if professional tile reglazing and refinishing in Rockwood is necessary.
Gather high-quality materials including heavy-duty cleaners, TSP (trisodium phosphate), fine-grit sandpaper (220-400 grit), primer, and professional-grade tile glaze or epoxy coating. You'll also need protective equipment: respirator masks, rubber gloves, safety glasses, and drop cloths to protect surrounding surfaces. Because tile reglazing requires precision and proper ventilation, ensure your bathroom has adequate airflow-open windows and use exhaust fans throughout the process.
Step 2: Clean and Prepare the Tile Surface Thoroughly
Deep cleaning is non-negotiable for successful tile refinishing. Mix TSP cleaner with hot water and scrub every tile surface aggressively using a stiff brush, paying special attention to grout lines where soap scum and mold accumulate. This step removes years of buildup that would prevent the new glaze from bonding properly. Rinse thoroughly with clean water multiple times until all cleaner residue is gone, then allow tiles to dry completely-typically 24 hours in well-ventilated conditions.
Once dry, sand the tile surface lightly with 220-grit sandpaper to dull the existing glaze and improve adhesion for the new coating. This micro-texturing allows the primer and glaze to grip properly. Wipe away all dust with a damp cloth and allow to dry again. For tile reglazing and refinishing projects in Rockwood and surrounding areas, this preparation stage determines the durability and appearance of your final result. Rushing this step leads to peeling or chipping within months, which is why professionals serving Burlington, Oakville, Milton, and other Halton Region communities emphasize meticulous preparation.
Step 3: Apply Primer and Base Coats
With surfaces prepared, apply a high-adhesion primer specifically designed for ceramic or porcelain tiles. Use a foam roller for large flat areas and a brush for corners and grout lines. The primer should be applied in thin, even coats-thick applications lead to drips and uneven coverage. Allow the primer to cure according to manufacturer specifications, usually 4-8 hours, before proceeding to the glaze application.
Once primer is fully cured, you're ready for the refinishing glaze. Professional-grade epoxy or ceramic glaze provides superior durability compared to consumer products. Apply the first coat using smooth, overlapping strokes with your foam roller, maintaining a wet edge to avoid lap marks. Pay particular attention to ensuring even coverage across all tiles. This first coat should be thin but complete. Allow proper curing time between coats-typically 24 hours for most professional products used in tile reglazing and refinishing applications throughout Waterloo, Guelph, and surrounding Ontario communities.
Step 4: Sand Between Coats and Apply Final Finish
Light sanding between coats-using 400-grit sandpaper-ensures the second coat bonds properly to the first. This step is often overlooked by DIY enthusiasts but is standard practice among professionals at fabulousfinishing.ca. Sand gently in circular motions, then vacuum and wipe with a tack cloth to remove all dust particles. This preparation ensures your final coat achieves a flawless, glossy finish.
Apply your second (and typically final) coat of glaze using the same technique as the first coat. This coat should be applied with care to create an even, professional appearance. Maintain consistent pressure on your roller and avoid over-working the material, as this creates bubbles and imperfections. The final glaze coat protects your tiles and provides the aesthetic transformation you're seeking. For tile reglazing and refinishing in Rockwood and throughout Hamilton, Halton Region, Niagara, Waterloo, and Guelph, the quality of this final application determines whether your tiles look newly restored or noticeably refinished.
Step 5: Cure and Protect Your Newly Refinished Tiles
Full curing is critical before exposing your refinished tiles to water or heavy use. Most professional-grade glazes require 48-72 hours of complete curing time in a well-ventilated, temperature-controlled environment. During this period, keep bathroom humidity low by running exhaust fans continuously and keeping windows open when weather permits. Do not use the shower or sink; do not splash water on the tiles.
After curing is complete, your tiles are ready for normal bathroom use. The refinished surface should feel smooth, look uniformly glossy, and show no visible brush marks or drips. Maintain your newly refinished tiles by cleaning gently with non-abrasive cleaners and avoiding harsh chemicals that can damage the fresh glaze. Regular maintenance extends the life of your tile reglazing and refinishing investment for years. When you understand the effort and precision required, you gain appreciation for why property managers, real estate investors, and homeowners throughout Cambridge, Kitchener, Milton, and other Ontario communities often choose to partner with experienced professionals rather than attempt this specialized work themselves.
Frequently Asked Questions
How long does tile reglazing and refinishing last in Rockwood?
Professional tile reglazing typically lasts 5-10 years with proper care and maintenance, depending on bathroom usage and cleaning practices. High-traffic commercial bathrooms may see shorter lifespans than residential applications. Regular gentle cleaning and avoiding abrasive chemicals significantly extends the durability of your refinished tiles.
Can I shower immediately after tile reglazing and refinishing in Rockwood?
No-you must wait a minimum of 48-72 hours after refinishing is complete before exposing tiles to water or moisture. Full curing time varies by product, but most professional coatings require this extended dry period to harden completely. Premature water exposure causes soft spots, peeling, and coating failure.
Is tile reglazing and refinishing cheaper than replacing tiles in Rockwood?
Yes-refinishing typically costs 50-75% less than full tile replacement, which involves removal, disposal, labor, new materials, and potential structural repairs. Refinishing also completes in days rather than weeks, minimizing disruption to your home. This cost-effective approach makes it an attractive option for homeowners and investors across Hamilton, Halton Region, and surrounding Ontario areas.