Hello, I’m Fabrizio, I’m the proud owner of
Fabulous Finishing.
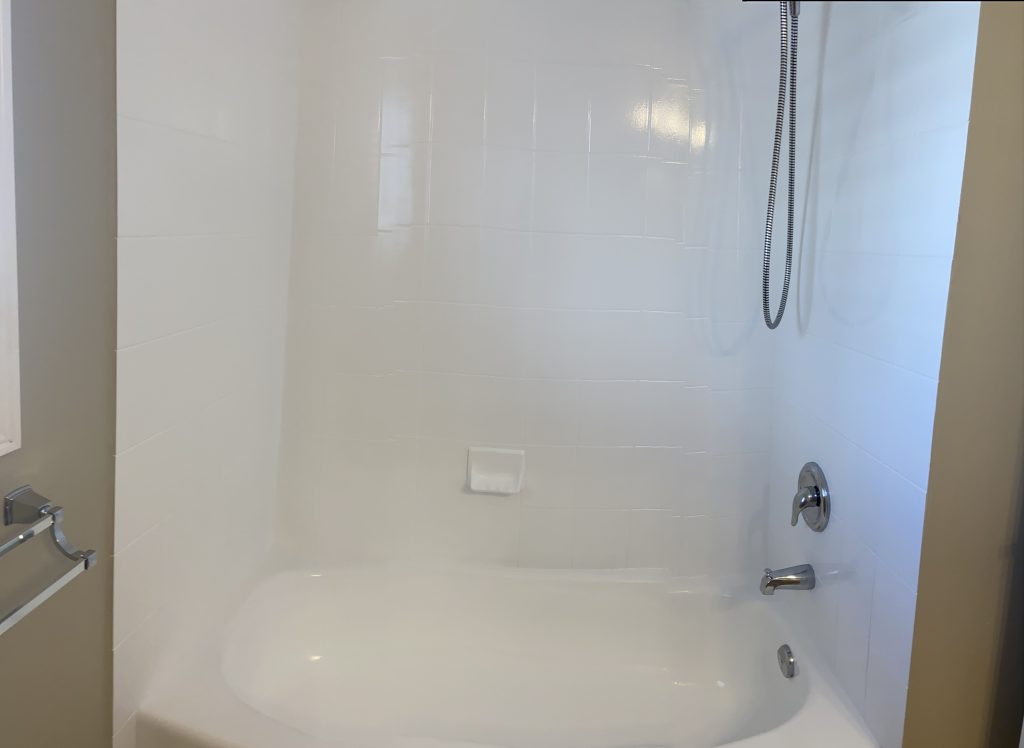
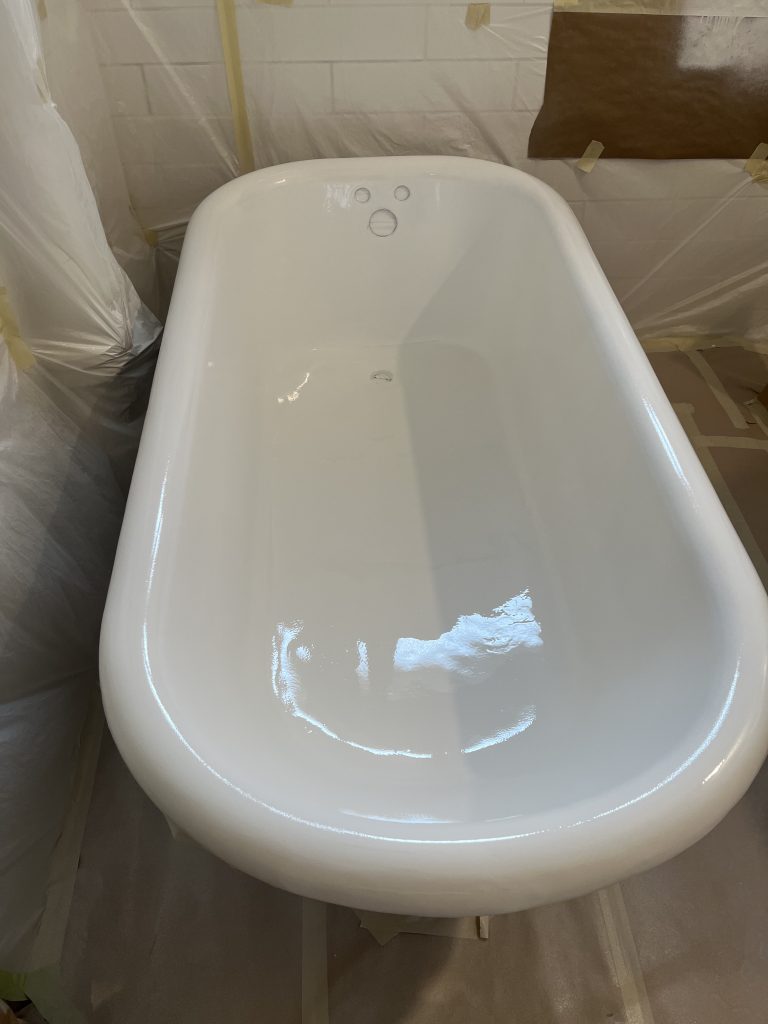
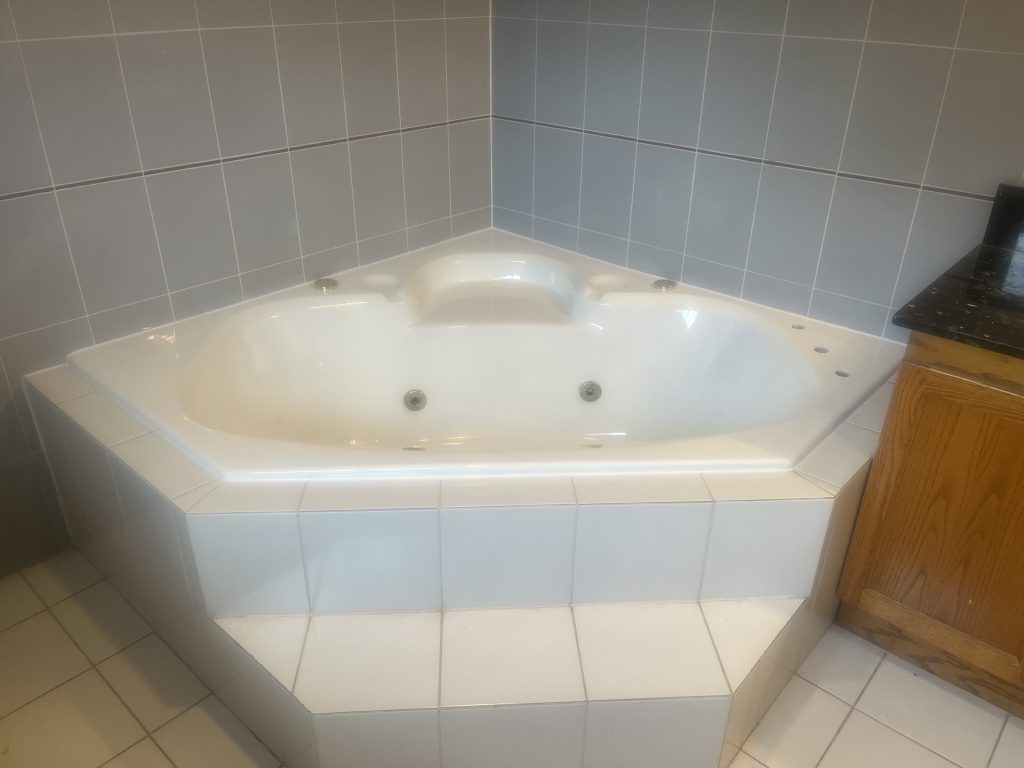
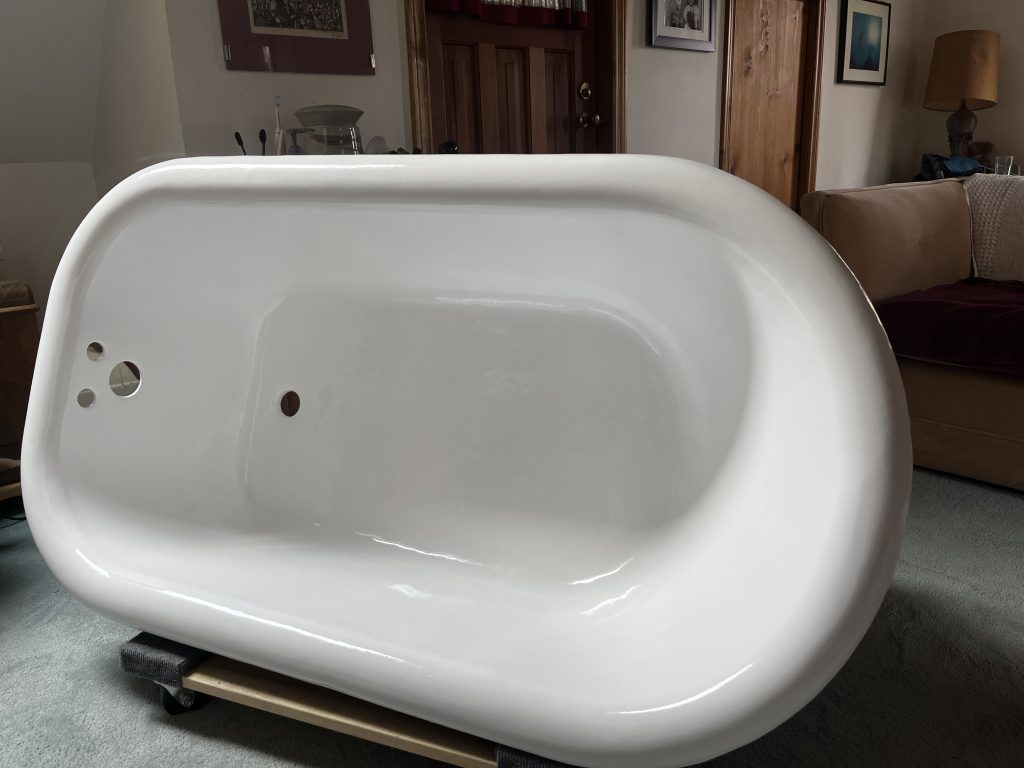
I take enormous pride in refinishing tubs and tiles for my valued customers, breathing new life and rejuvenation into bathrooms throughout Hamilton, Halton, Niagara, Waterloo and Guelph Regions. I bring my passion and over 10 years of experience to every job. It’s such a privilege to be trusted in the homes and bathrooms of my customers. I truly do care about every job and take great pride in a job well done.

Why Choose Fabulous Finishing?

Integrity
I’m a family man and I know how much of a privilege it is to be invited into your home. I respect every customer and strive to treat their home as though it were my own. I run a very tidy job site, properly exhaust the fumes out of your house, and don’t prolong down time for your home. I can usually be in and out in a few hours with virtually no interruption to your daily routine

Premium Materials
We don’t compromise on our materials. While the other guys may say they use good quality products, we will not compromise and only use the absolute best products to refinish your tub or tile. This makes a huge difference in the initial result but also in the long-term performance and durability of the finish. We use LOW VOC acrylic coatings, UV resistance (not turn yellow), to provide extended color retention and brightness for years.

Craftsmanship
As the business owner I take pride in each and every job. This is what I do and I don’t leave the job until it’s right! Other companies sub out the work, but I take my 10 plus years of experience and passion and transform your tub or tile. All of our premium coatings are sprayed on (not rolled) with a finish only achievable through years of experience. We install an efficient portable exhaust system to reduce the odour and fumes inside the job site.
Bathroom Sink Refinishing Lynden
Bathroom sink refinishing in Lynden offers homeowners and property managers an affordable alternative to full fixture replacement. Whether your porcelain, ceramic, or composite sink shows signs of wear, discoloration, or minor damage, professional refinishing restores both function and aesthetics. This guide walks you through the technical process behind bathroom sink refinishing, so you understand what happens when you invest in restoring your fixtures rather than replacing them. By following these steps, you'll achieve a durable, high-gloss finish that can extend your sink's life by many years.
Step 1: Inspect and Assess the Sink Condition
Before any refinishing work begins, conduct a thorough visual and tactile inspection of your bathroom sink. Look for chips, cracks, stains, rust spots, and areas where the original glaze has worn thin or become dull. Run your hand over the surface to identify rough patches or texture changes. Check the drain area, overflow hole, and faucet mounting points for damage that might affect the refinishing process. Document the extent of wear using photographs; this helps you communicate the scope of work and establishes a baseline for comparison after refinishing is complete.
Pay particular attention to the sink's material composition. Porcelain over cast iron, vitreous china, fiberglass, and acrylic composites each require slightly different preparation approaches. If your sink contains lead-based glazing (typically found in older fixtures), professional remediation protocols must be followed. This assessment phase determines whether the sink is a candidate for refinishing or if structural damage necessitates replacement. Professionals serving Lynden and surrounding areas like Hamilton, Halton Region, and Niagara conduct this evaluation as part of their initial consultation.
Step 2: Drain the Sink and Protect Surrounding Areas
Turn off water supply valves beneath the sink to prevent accidental leaks during the refinishing process. Remove any water remaining in the bowl and trap using a wet vacuum or siphon. Cover adjacent fixtures, countertops, and flooring with heavy-duty plastic sheeting and painter's tape. Pay special attention to protecting faucet handles, mounting hardware, and any decorative elements. Seal off cabinet interiors and ensure adequate ventilation in your bathroom; refinishing involves chemical applications that produce fumes requiring proper air circulation.
Create a containment area if working on a pedestal or wall-mounted sink to catch any drips or overspray. Lay absorbent material on the floor beneath your work zone. Remove the sink stopper, overflow plate, and any removable components that might interfere with refinishing. If your sink includes specialized features like integrated soap dispensers or temperature-control systems, document their locations for masking purposes.
Step 3: Clean and Degrease the Surface
Begin with a thorough cleaning using a non-abrasive bathroom cleaner or mild detergent and warm water. Scrub the entire interior and exterior surface with a soft cloth or sponge to remove soap residue, toothpaste buildup, and mineral deposits. For stubborn stains, use a paste of baking soda and water applied with a soft-bristled brush. Rinse completely and dry with lint-free towels. This initial cleaning removes surface contamination that would otherwise interfere with adhesion of refinishing materials.
Next, apply a degreaser specifically formulated for porcelain and ceramic surfaces. Products containing mild solvents break down embedded oils and polish residue that regular cleaning cannot remove. Use a clean cloth to work the degreaser across the entire surface, paying extra attention to frequently touched areas like the rim and faucet mounting zone. Allow the degreaser to sit for the manufacturer's recommended time, then rinse thoroughly with distilled water. Any remaining mineral deposits or contaminants can cause adhesion failure in the refinishing coat.
Step 4: Sand and Prime the Surface
Using 150-220 grit sandpaper, lightly sand the entire sink surface to create a mechanical profile that allows bonding agents to grip effectively. Sand in circular motions with moderate pressure; the goal is to dull the gloss, not remove material. Pay special attention to high-gloss areas and edges where product buildup commonly occurs. After sanding, wipe the sink thoroughly with a tack cloth or lint-free cloth dampened with mineral spirits to remove all dust and debris. Allow the surface to dry completely before proceeding.
Apply a specialized primer or bonding agent designed for bathroom sink refinishing. These primers chemically adhere to porcelain, ceramic, and composite materials while creating a base layer for the topcoat. Apply primer in thin, even coats using a high-quality brush or spray applicator. Allow proper cure time between coats as specified by the product manufacturer. This step is critical for bathroom sink refinishing in Lynden and across Waterloo, Guelph, and other service areas; inferior primers compromise the entire refinishing outcome.
Step 5: Apply the Refinishing Glaze Coat
The refinishing glaze is typically a two-part polyurethane or acrylic-based system formulated to cure to a hard, glossy, non-porous finish. Mix components according to manufacturer specifications if using a two-part system, stirring thoroughly but avoiding vigorous agitation that introduces air bubbles. Apply the first coat in thin, overlapping passes using a high-quality brush, foam roller, or spray equipment. Work methodically from one end of the sink to the other, maintaining a wet edge to prevent lap marks. Allow the first coat to cure fully, typically 8-24 hours depending on temperature and humidity.
Apply a second coat following the same technique. Two or more coats provide superior durability and uniform color coverage. The final topcoat should be smooth, uniform in color, and free of drips, runs, or sag marks. Pay particular attention to corners, the drain area, and transition zones between the sink bowl and rim. Quality finish work distinguishes professional bathroom sink refinishing from DIY attempts; this is why homeowners throughout Burlington, Oakville, Cambridge, Kitchener, and Milton prefer working with established refinishing services.
Step 6: Cure and Post-Treatment
After the final coat application, the sink enters a critical curing phase. Full chemical cure typically requires 48-72 hours, during which time the finish hardens to its final durability specification. During this period, keep the sink completely dry and protect it from moisture, dust, and contact. Maintain bathroom ventilation to allow volatile organic compounds to escape and to support proper moisture levels during cure. Do not use the sink or allow water contact until the manufacturer's minimum cure time has elapsed.
Once cure is complete, test the finish by running water briefly to confirm the refinishing has bonded properly and repels water as expected. The surface should be slick, glossy, and resistant to water beading. If minor imperfections appear after cure, light polishing with a fine automotive compound may improve appearance without compromising durability. Establish a maintenance routine using non-abrasive cleaners and soft cloths to preserve your refinished sink for years to come. Professional refinishing services like those offered throughout Hamilton, Halton Region, Niagara, Waterloo, and Guelph typically provide care instructions to maximize the lifespan of your investment.
Key Supplies and Materials Needed:
- Heavy-duty plastic sheeting and painter's tape
- Non-abrasive bathroom cleaner or mild detergent
- Degreaser formulated for porcelain/ceramic
- Sandpaper (150-220 grit)
- Tack cloth or lint-free cloths
- Specialized primer or bonding agent
- Two-part refinishing glaze system
- High-quality brushes, foam rollers, or spray equipment
- Mineral spirits for surface preparation
- Distilled water for rinsing
- Adequate ventilation fans or open windows
Frequently Asked Questions
How long does bathroom sink refinishing in Lynden typically take?
The active refinishing process usually requires one day of work, but the complete project timeline extends 3-5 days when accounting for surface preparation, application of multiple coats, and full chemical curing. Curing time is essential; rushing to use your sink before cure completion can damage the finish and compromise durability.
Will bathroom sink refinishing in Lynden cover chips and cracks permanently?
Refinishing addresses chips and surface damage by filling and smoothing these areas with the new glaze coating. However, large cracks or structural damage may require prior repair or might make the sink unsuitable for refinishing. A professional assessment determines whether your specific damage can be successfully restored.
How durable is a refinished bathroom sink compared to replacement?
A professionally refinished sink typically lasts 10-15 years with proper care, making it significantly more affordable than replacing the entire fixture. The durability depends on surface preparation quality, material selection, and how well you maintain the finish using non-abrasive cleaners.
Can bathroom sink refinishing in Lynden be done on all sink materials?
Refinishing works effectively on porcelain, ceramic, vitreous china, fiberglass, and acrylic composite sinks. However, some materials require specialized preparation or primer formulations. Professionals evaluate your specific sink material during consultation to confirm it is a suitable candidate for refinishing.